
Raid: Shadow Legends Cursed City
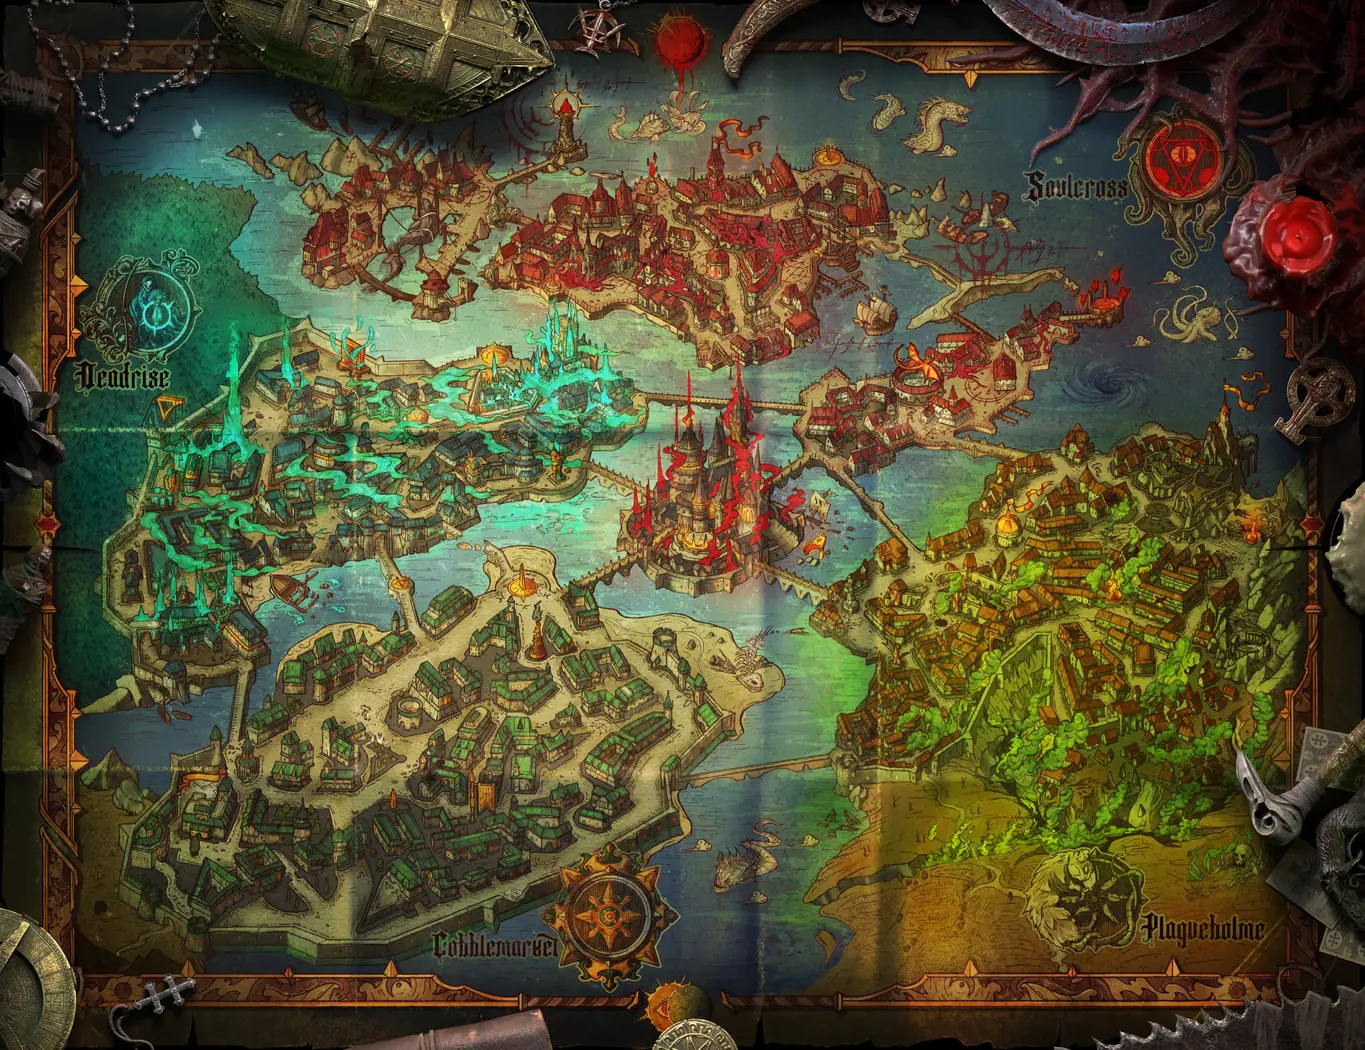
The Cursed City screen of the game: four districts of 25 stages each, joined by paths, and the Eclipse Tower in the middle with Amius the Lunar Archon. Here is the city map with every stage on its place, in Normal and Hard: what a battle costs in Cursed Keys, the enemies wave by wave, each boss with stats, skills and the game's own strategy, the Awakened Stages and what the first clear gives. Every boss drops a chest of Supersonic and Merciless gear: artifacts, and on some stages accessories — rings, amulets and banners; rarity and rank vary. Pick a mode, then a stage on the map.
- Explore the Cursed CityComplete Stages with unique challenges and earn awesome rewards!
- Defeat Amius the Lunar ArchonTake on a terrifying new Boss to earn Mythical Gear and Cursed Remnants!
- Get a Mythical ChampionComplete Cursed City Quests to get Karnage the Anarch and other great rewards!
How It Works
Welcome to the Cursed City! You'll need to clear Stages across 4 Districts by moving along paths and defeating enemies, before climbing the Eclipse Tower and fighting Amius the Lunar Archon.
You'll face familiar and new challenges alike, including Double Boss Stages. Taking on two of Teleria's familiar foes at once will reward you with an Eclipse Key as well as other awesome rewards.
You'll need 3 Eclipse Keys to enter the Eclipse Tower at the heart of the Cursed City. There, you'll face off against Amius the Lunar Archon and decide the fate of Sintranos! Good luck!
Every Stage has requirements that you must meet in order to complete it. They might restrict the Rarity, Faction, Type, or Affinity of Champions you can use, and the requirements will get tougher the deeper into the city you go.
Awakened Stages are unique, as you'll need to use Awakened Champions in addition to other requirements. Your team must meet or exceed the required amount of Awakening Levels to start a battle, indicated by red stars on a Champion's portrait.
 C1
C2
C3
C4
 C5
C6
C7
 C8
C9
C10
C11
C12

 C13
C14
C15
C16
C17
 C18
C19

 C20
C21
 C22
C23
C24
C25
D1
D2
D3
D4
D5
D6
D7
D8
 D9

 D10
D11
D12
D13
 D14
 D15
D16
 D17
D18
D19
D20
 D21
D22
D23
D24
D25
P1
P2
P3
P4
 P5
P6
 P7
P8
P9
 P10
P11
 P12
P13
P14
P15

 P16
P17
P18
P19
P20
P21
 P22
P23
P24
P25
S1
S2
S3
S4
 S5
S6
S7
S8
 S9
S10
 S11
S12
S13
S14
 S15
S16
 S17
S18
S19
S20
S21

 S22
S23
S24
S25
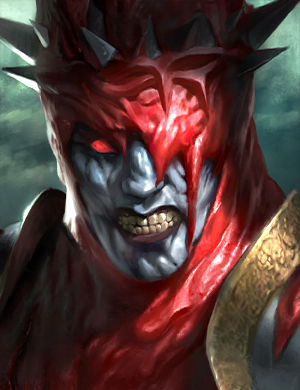 Amius the Lunar Archon
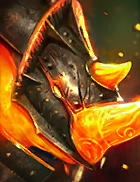
Stage C8: Bommal
- Cursed City Keys
- 1
What one battle costs.
Bommal
Bommal
 Force · Lvl. 100
- HP
- 532,548
- ATK
- 3,156
- DEF
- 2,209
- SPD
- 100
- C.RATE
- 15%
- C.DMG
- 50%
- RES
- 150
- ACC
- 100
Boss skills
-
Ruinous Crush
Attacks all enemies. Decreases Bomb debuff detonation countdowns by 1 turn. Also instantly activates any HP Burn debuffs on each target and decreases the duration of those debuffs by 1 turn.
-

Magma Flood Cooldown: 3 turns
Attacks all enemies. Places a HP Burn debuff on each enemy for 3 turns.
Passive Effect
Enemies receive 100% more damage from HP Burn debuffs for each Bomb debuff they are under.
-
Rain of Bombs Cooldown: 3 turns
Removes all buffs from all enemies, then attacks them. Places a Bomb debuff on each enemy that detonate after 2 turns. Places 1 additional Bomb debuff for each buff removed by this Skill. The Bomb debuffs cannot be blocked or removed.
-
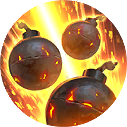
Dread Minions Cooldown: 5 turns
Places a 50% Increase ATK buff on Bommal the Dreadhorn for 5 turns, then summons two Dreadbombs and grants an Extra Turn.
The Increase ATK buff cannot be removed.
Passive Effect
Summons 1 Dreadbomb every time Bommal’s Turn Meter is decreased.
-

Pressure Wave [P]
Each time an enemy places any debuff (except Bomb debuffs) on Bommal, places a Bomb debuff on that enemy that detonates after 2 turns.
These Bomb debuffs cannot be blocked or removed.
Each time a Bomb debuff detonates on an enemy, has a 25% chance of placing a Stun debuff on all other enemies for 1 turn.
Bommal receives 300% more damage from Bomb debuffs.
-

Almighty Immunity [P]
Immune to Stun, Freeze, Sleep, Provoke, Block Active Skills, Block Passive Skills, Fear, True Fear, Petrification, Berserk, Enfeeble, Nullify, Ensnare, Fatigue, and Hunter's Gaze debuffs. Also immune to HP exchange effects, HP balancing effects, and cooldown increasing effects.
-
Almighty Strength [P]
Damage from skills that scale based on enemy MAX HP cannot exceed 10% of the Boss' MAX HP when attacking the Boss.
-

Almighty Persistence [P]
All Turn Meter reduction effects are decreased by 50% when used against the Boss.
Strategy
How It Works
-
Bommal is a powerful Boss with impressive ACC that allows him to shower his enemies with Bombs. These Bombs cannot be removed or blocked, and the only thing that can save your team is high RES. You’re going to want to get your team’s Resistance as high as possible, using whatever means you’ve got available.
-
Aside from all the bombing, Bommal also sets your team on fire, and the HP Burn damage scales up based on the number of Bombs you’ve got on you. If that sounds manageable, keep in mind that he’ll be dropping a lot of Bombs - he throws them out on your whole team every time you place a debuff on him.
-
Now, Bombs are Bommal's weapon of choice, but they’re also the chink in his armor. He also receives massive bonus damage from Bombs.
-
Bommal the Dreadhorn also has his minions – Dreadbombs. They are very slow and may seem like they're not a threat. However, at the start of their turn, they self-destruct, dealing incredible damage to your team. Neither Shields nor DEF will help against it – you can only reduce the damage by placing a Freeze debuff on the Dreadbomb. Alternatively, if you can get it, you can use a Block Damage buff to prevent the blast from even scratching you.
-
Dreadbombs may be slow, but they’re immune to all effects except Freeze and HP Burn, and they don’t receive any damage from enemy attacks. In addition, when they take damage from HP Burn (including a HP Burn debuff on Bommal himself), they fill their Turn Meters.
-
To defeat this Boss you will need:
- high RES
- a Decrease ACC debuff on the Boss at all times
- to place as few debuffs as possible
- Block Damage and Unkillable buffs
- Champions that can consistently Freeze the Dreadbombs
Rewards
First clear
-
 Silver
× 100,000
-
 Artifact Chest
5★ 50% · 6★ 50%Rare 50% · Epic 50%Helmet, Chestplate, Gauntlets, Boots, Weapon, ShieldGives 3 rewards from the list
 Merciless
 Supersonic
Stage C8: Bommal
- Cursed City Keys
- 1
What one battle costs.
Bommal
Bommal
Force · Lvl. 150
- HP
- 834,948
- ATK
- 4,948
- DEF
- 3,464
- SPD
- 125
- C.RATE
- 15%
- C.DMG
- 50%
- RES
- 150
- ACC
- 100
Boss skills
-
Ruinous Crush
Attacks all enemies. Decreases Bomb debuff detonation countdowns by 1 turn. Also instantly activates any HP Burn debuffs on each target and decreases the duration of those debuffs by 1 turn.
-
Magma Flood Cooldown: 3 turns
Attacks all enemies. Places a HP Burn debuff on each enemy for 3 turns.
Passive Effect
Enemies receive 100% more damage from HP Burn debuffs for each Bomb debuff they are under.
-
Rain of Bombs Cooldown: 3 turns
Removes all buffs from all enemies, then attacks them. Places a Bomb debuff on each enemy that detonate after 2 turns. Places 1 additional Bomb debuff for each buff removed by this Skill. The Bomb debuffs cannot be blocked or removed.
-
Dread Minions Cooldown: 5 turns
Places a 50% Increase ATK buff on Bommal the Dreadhorn for 5 turns, then summons two Dreadbombs and grants an Extra Turn.
The Increase ATK buff cannot be removed.
Passive Effect
Summons 1 Dreadbomb every time Bommal’s Turn Meter is decreased.
-
Pressure Wave [P]
Each time an enemy places any debuff (except Bomb debuffs) on Bommal, places a Bomb debuff on that enemy that detonates after 2 turns.
These Bomb debuffs cannot be blocked or removed.
Each time a Bomb debuff detonates on an enemy, has a 25% chance of placing a Stun debuff on all other enemies for 1 turn.
Bommal receives 300% more damage from Bomb debuffs.
-
Almighty Immunity [P]
Immune to Stun, Freeze, Sleep, Provoke, Block Active Skills, Block Passive Skills, Fear, True Fear, Petrification, Berserk, Enfeeble, Nullify, Ensnare, Fatigue, and Hunter's Gaze debuffs. Also immune to HP exchange effects, HP balancing effects, and cooldown increasing effects.
-
Almighty Strength [P]
Damage from skills that scale based on enemy MAX HP cannot exceed 10% of the Boss' MAX HP when attacking the Boss.
-
Almighty Persistence [P]
All Turn Meter reduction effects are decreased by 50% when used against the Boss.
Strategy
How It Works
-
Bommal is a powerful Boss with impressive ACC that allows him to shower his enemies with Bombs. These Bombs cannot be removed or blocked, and the only thing that can save your team is high RES. You’re going to want to get your team’s Resistance as high as possible, using whatever means you’ve got available.
-
Aside from all the bombing, Bommal also sets your team on fire, and the HP Burn damage scales up based on the number of Bombs you’ve got on you. If that sounds manageable, keep in mind that he’ll be dropping a lot of Bombs - he throws them out on your whole team every time you place a debuff on him.
-
Now, Bombs are Bommal's weapon of choice, but they’re also the chink in his armor. He also receives massive bonus damage from Bombs.
-
Bommal the Dreadhorn also has his minions – Dreadbombs. They are very slow and may seem like they're not a threat. However, at the start of their turn, they self-destruct, dealing incredible damage to your team. Neither Shields nor DEF will help against it – you can only reduce the damage by placing a Freeze debuff on the Dreadbomb. Alternatively, if you can get it, you can use a Block Damage buff to prevent the blast from even scratching you.
-
Dreadbombs may be slow, but they’re immune to all effects except Freeze and HP Burn, and they don’t receive any damage from enemy attacks. In addition, when they take damage from HP Burn (including a HP Burn debuff on Bommal himself), they fill their Turn Meters.
-
To defeat this Boss you will need:
- high RES
- a Decrease ACC debuff on the Boss at all times
- to place as few debuffs as possible
- Block Damage and Unkillable buffs
- Champions that can consistently Freeze the Dreadbombs
Rewards
First clear
-
Artifact Chest
5★ 60% · 6★ 40%Rare 40% · Epic 40% · Legendary 20%Helmet, Chestplate, Gauntlets, Boots, Weapon, ShieldGives 4 rewards from the list
Merciless
Supersonic
-
 Mortal Soulstone
CURSED CITY QUESTS
Complete special Cursed City Quests and earn Cursed Candles or Occult Cursed Candles to get additional prizes!
On both Normal and Hard Difficulty, the Quests will remain the same. They are:
- Clear 25 Stages
- Clear 50 Stages
- Clear 101 Stages
- Clear 6 Awakened Stages
- Clear 12 Awakened Stages
- Defeat Amius the Lunar Archon
 Normal · Cursed Candles
-
100
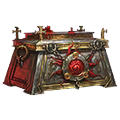 Cursed Chest
CURSED CHEST REWARDS FROM NORMAL DIFFICULTY
Completing Cursed City Quests on Normal difficulty will earn you Cursed Candles. Collect 100 Cursed Candles to receive a Cursed Chest that contains 4 rewards from the following pool:
-
 +100% XP Boost (3 d.)
-
 Rare Skill Tome
-
 Epic Skill Tome
-
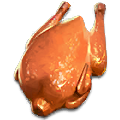 Rank 3 Chicken
-
Rank 4 Chicken
-
 4★
×2
Health Glyph
-
 4★
×2
Vitality Glyph
-
 4★
×2
Attack Glyph
-
 4★
×2
Strike Glyph
-
 4★
×2
Defense Glyph
-
 4★
×2
Endurance Glyph
-
 4★
×2
Haste Glyph
-
 4★
×2
Resistance Glyphs
-
 4★
×2
Precision Glyph
-
 50 Multi-Battle attempts
-
 5* Epic Chaos Ore
-
 ×150
Energy
-
×200K
Silver
-
 ×250
Mortal Soul Coin
-
 ×200
Immortal Soul Coin
 Hard · Occult Cursed Candles
-
500
 Karnage the Anarch
-
100
Cursed Chest
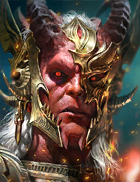
Completing Cursed City Quests on Hard difficulty will earn you Occult Cursed Candles. The more Occult Cursed Candles you collect, the more rewards you'll earn! If you get 500 Occult Cursed Candles, you will receive a Mythical Champion, Karnage the Anarch!
After receiving Karnage the Anarch, you can keep earning Occult Cursed Candles to get more Cursed Chests with rewards. Same as Cursed Candles, you'll need 100 Occult Cursed Candles to get a Cursed Chest. Some Cursed Chest rewards can only be obtained once.
COMPLETION REWARDS FROM HARD DIFFICULTY
-
×500
Energy
10
-
×2
Rank 4 Chicken
25
-
×1M
Silver
40
-
×2
Epic Skill Tome
60
-
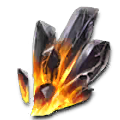 ×3
5* Legendary Chaos Ore
80
-
 XP Barrel
100
-
×650
Energy
120
-
×5
Mortal Soulstone
140
-
×4
Rank 4 Chicken
160
-
×1.5M
Silver
180
-
 ×3
Ancient Shard
200
-
 Legendary Skill Tome
220
-
×750
Energy
240
-
×5
Mortal Soulstone
260
-
×2
Rank 5 Chicken
280
-
×1.5M
Silver
300
-
×1K
Immortal Soul Coin
320
-
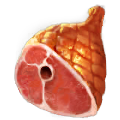 Feast
340
-
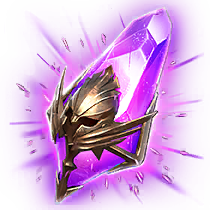 ×2
Void Shard
360
-
×1.5M
Silver
380
-
×2
6* Legendary Chaos Ore
400
-
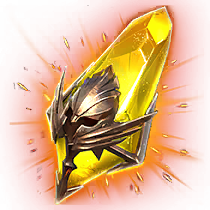 Sacred Shard
425
-
 ×1K
Eternal Soul Coin
450
-
 Mythical Skill Tome
475
CURSED CHEST REWARDS FROM HARD DIFFICULTY
One-Time Rewards
-
Avatar: Karnage the Anarch
-
 Avatar Frame
-
1★
Perfect Soul
-
2★
Perfect Soul
-
3★
Perfect Soul
-
4★
Perfect Soul
Possible Rewards
-
Epic Skill Tome
-
Legendary Skill Tome
-
Mythical Skill Tome
-
XP Barrel
-
×4
Rank 4 Chicken
-
Rank 5 Chicken
-
Feast
-
 ×20
Mythical Charm
-
×2
6* Legendary Chaos Ore
-
 6* Mythical Chaos Ore
-
×5
Mortal Soulstone
-
×1M
Silver
-
×750
Immortal Soul Coin
-
×350
Eternal Soul Coin
-
 ×100
Greater Oil
-
 ×100
Superior Oil